# Eclipse IDE
Eclipse is the development environment used since the inception of openHAB. To make development easier an out-of-the-box setup is available that completely configures Eclipse to easily develop for the openHAB projects. This guide describes the steps to setup Eclipse and how to run and debug an add-on in Eclipse.
Existing Eclipse Installations
If you already have Eclipse installed it is recommended to perform a separate Eclipse install for openHAB to avoid overriding your existing Eclipse configuration.
# Eclipse IDE Setup
Install the Java 21 JDK if you did not have it installed.
Attention
openHAB development requires Java JDK version 21.
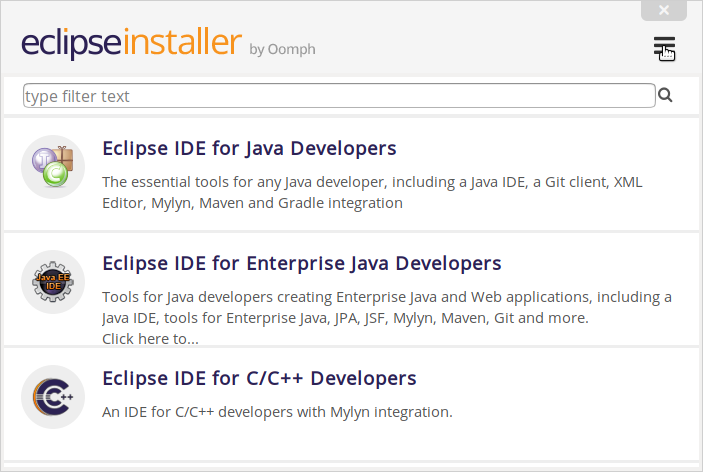
Download the "Eclipse Installer": can be downloaded from the Eclipse web site (opens new window)
Launch the Installer and on the menu on the top right (3 bars)
Select
ADVANCED MODE...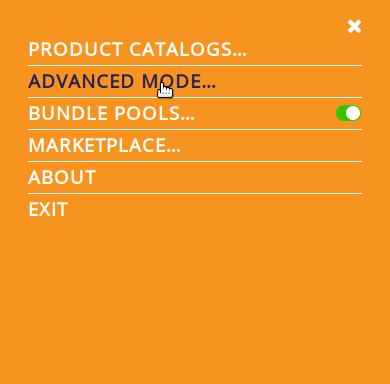
Select
Eclipse IDE for Java Developers. SelectNext >.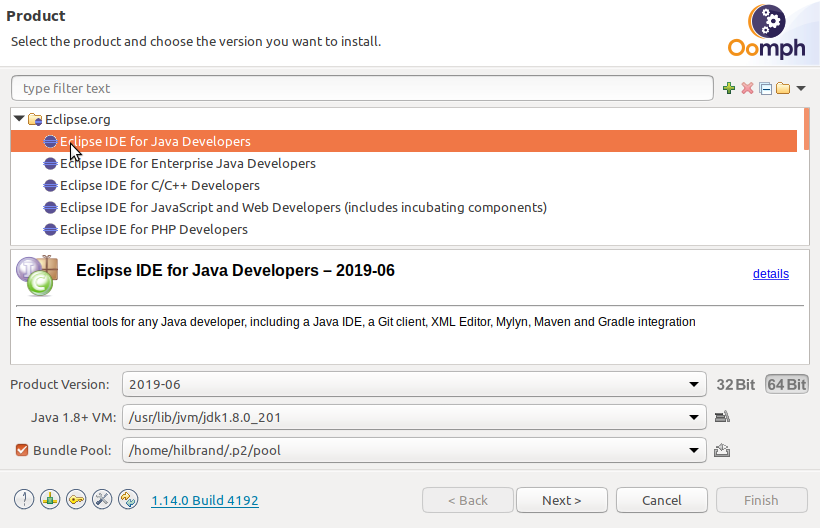
Under
GitHub Projects > openHABselectopenHAB Developmentand any desired option fromopenHAB Add-ons(includes all add-ons from openhab-addons repo),openHAB ZigBee BindingoropenHAB Z-Wave Binding.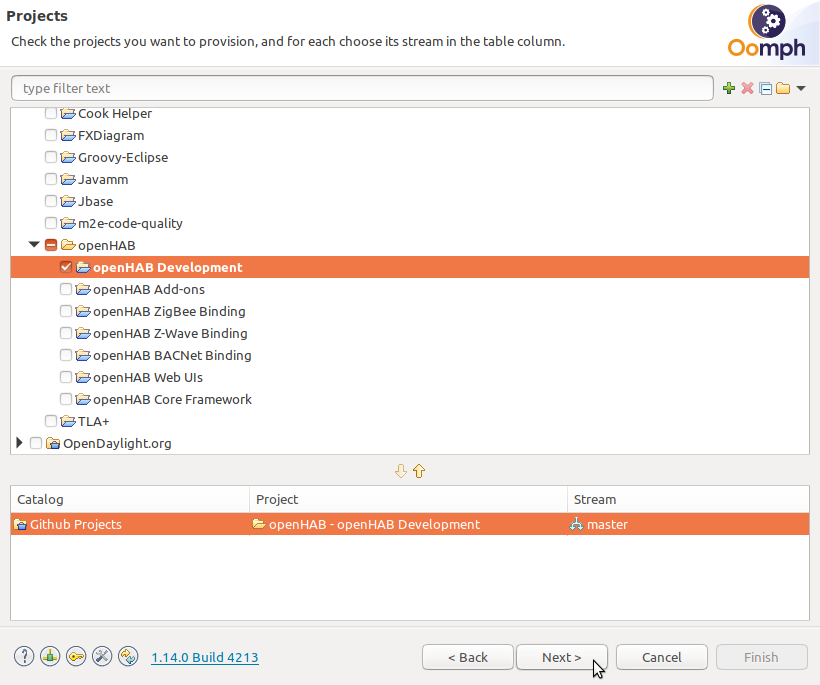
Selection Install if openHAB Development Debug/Demo Environment (Required) openHAB Add-ons Add-ons Development openHAB ZigBee Binding ZigBee Binding Development openHAB Z-Wave Binding Z-Wave Binding Development openHAB BACNet Binding BACNet Binding Development openHAB Web UIs Web UIs Development openHAB Core Framework Core Framework Development Click
Next>, verify/modify Root and install folder name. Click onShow all variablesto open the window shown below.
Explanation of some of the variables
Root install folder: The base folder where theInstallation folderwill be placed.Installation folder name: This is the directory in the root install folder everything will be installed in.GitHub user ID: This is your GitHub user name used to configure the cloned Git projects.
Click
Next>andFinishto start installation.During install accept license agreement, "Unsigned Content" for Bndtools, and Eclipse Foundation certificates when requested to complete IDE installation.
At this point the Eclipse installer is finished and the Eclipse IDE is automatically launched to continue the installation process.
Attention
It is important, during the first Eclipse IDE launch, to leave Eclipse open until all openHAB related initial Setup tasks / Download sources / Builds are completed.
Setup tasks will personalize the IDE with openHAB code formatting tools, configurations and a demo app. Setup tasks will also download openHAB latest projects you have selected during installation. Like
openhab-distroand the add-onsopenhab-addonsproject if you have selected it.Click bottom right button in the IDE for Progress.
After all tasks are finished you are ready to start developing.
If you need additional libraries see the Build System documentation. For other libraries supported out-of-the-box check the Default Libraries on the guidelines page.
# Working with Add-ons
To easily run, modify and debug an add-on the openHAB Development setup installs and imports a demo project that contains a complete openHAB environment to run and debug an add-on.
This mechanism replaces the add-on installation process via the UI that you would use outside the IDE.
# Running Add-ons
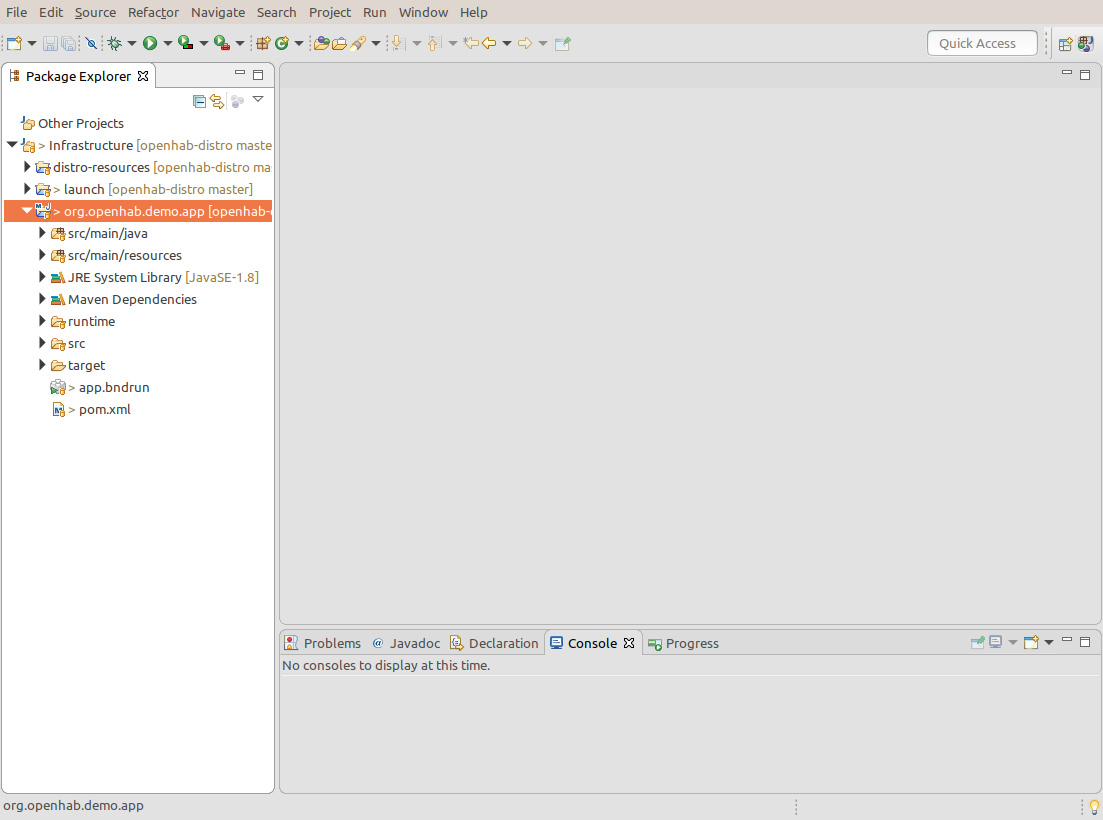
Under Infrastructure you will find the project org.openhab.demo.app.
This project contains the full configuration to run openHAB.
The following files are of interest for the execution environment:
|- org.openhab.demo.app
|--- runtime
|------- conf             Here you configure the manual text files
|------- userdata         Here is the openHAB user data
|------- log4j2.xml       XML file for logging options
|--- app.bndrun           The file to start openHAB
|--- pom.xml              The pom file with all dependencies for the demo project
To let the demo project know about the add-on, the add-on must be added to the demo project
pom.xml. Here is an example for theastrobinding:<dependency> <groupId>org.openhab.addons.bundles</groupId> <artifactId>org.openhab.binding.astro</artifactId> <version>${project.version}</version> <scope>runtime</scope> </dependency>To run the add-on with the
app.bndrunrun configuration. Double click to openapp.bndrunfile (takes a few seconds):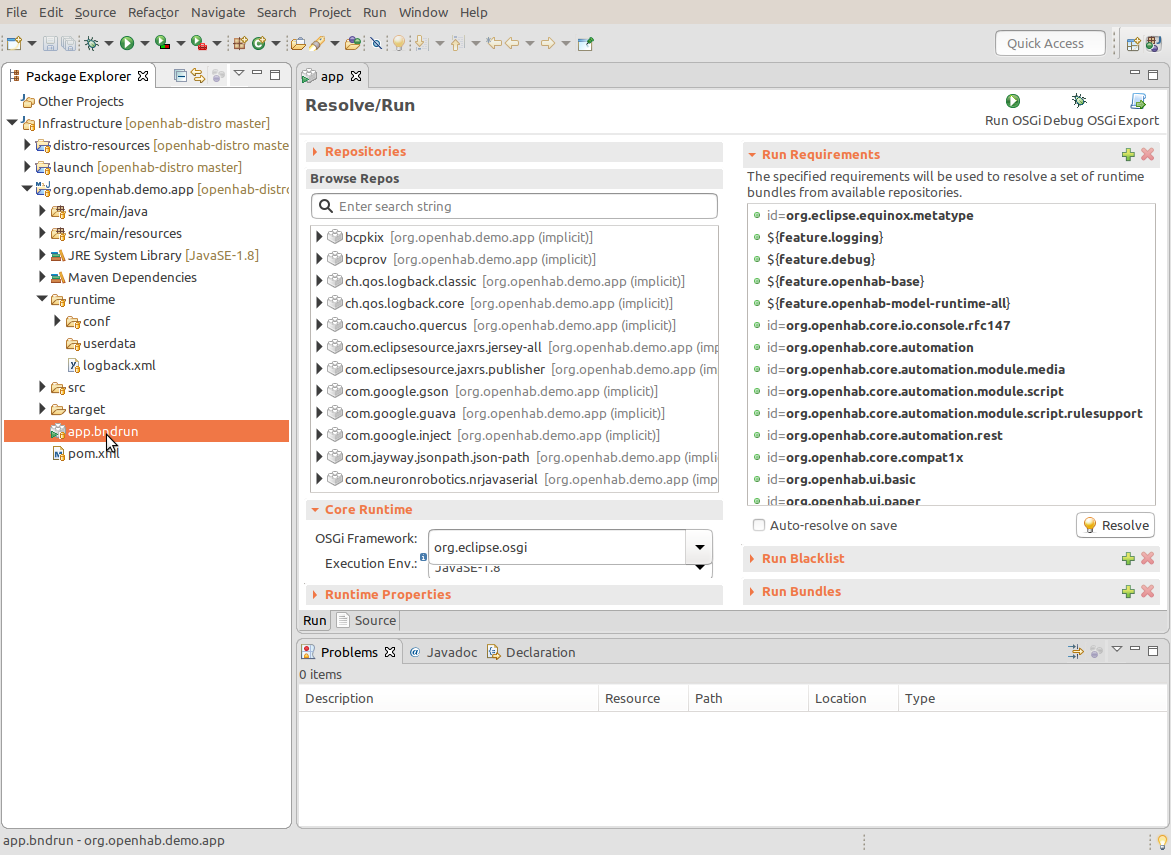
Under
Browse Repossearch for the add-on you want to run (astroin our case) and add it to theRun Requirementslist using drag&drop from theBrowse Reposlist:TIP
If you cannot find the binding you want run/debug in the Browse Repos list, or the list is empty, then it is likely either the
pom.xmlof the demo project contains an error or there is a build problem with your project. Check if your project has no compile errors. Or run Maven on the command line to check if it reports any errors.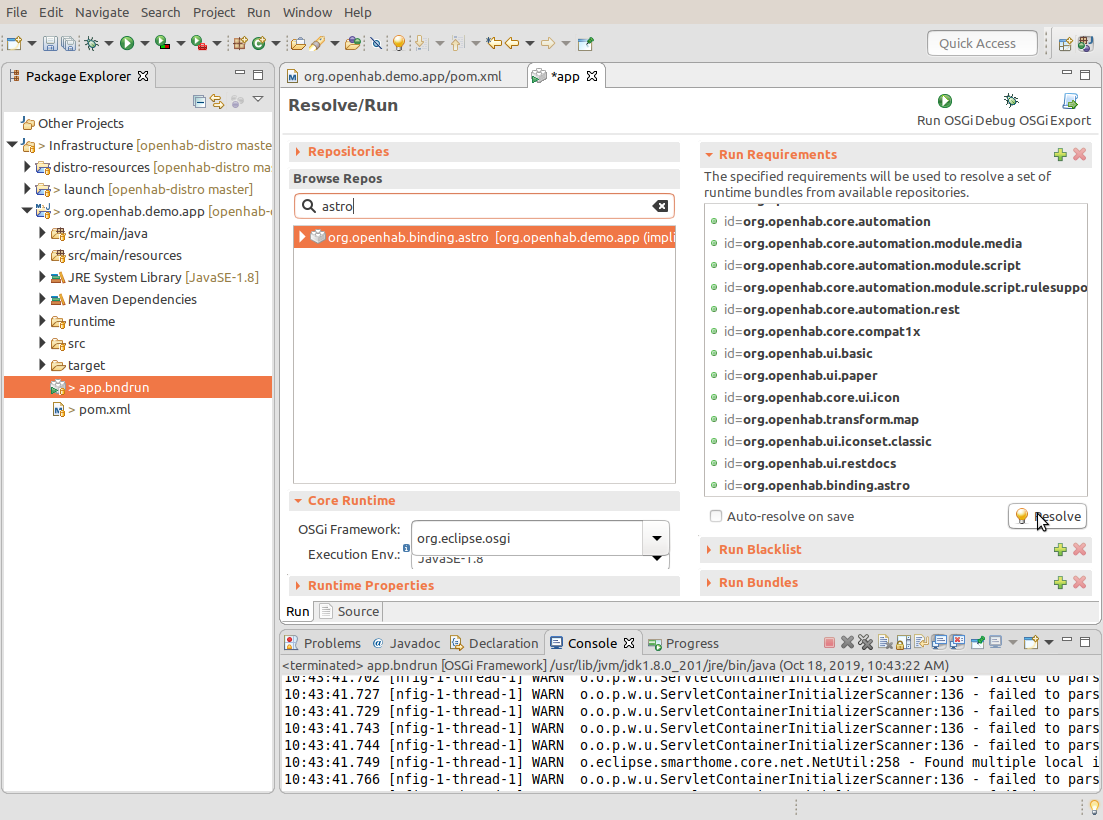
Save and click "Resolve": a window with the list of resolved bundles will be shown. Click
Finishand save the file.TIP
Watch out - it's easy to miss saving the
app.bndrunfile. If you see the little asterisk next toappin theapptab you haven't yet saved.Now the IDE is ready to start openHAB with a minimum set of the openHAB core bindings, UIs and the add-ons you configured.
Start openHAB from the IDE by clicking "Run OSGi" (upper right of the
app.bndrunwindow).TIP
Depending on the amount of code you want to debug, especially when you're debugging not only add-ons, but also openHAB Core and UI's, start-up process may gets very slow and/or you get a
java.lang.OutOfMemoryError: Java heap spaceexception. In case this happens, you could increase the maximum heap space by adding e.g.-Xmx8G(for a maximum of 8 gigabyte) toRuntime Properties > JVM arguments(bottem left of theapp.bndrunwindow). Afterwards, you have to saveapp.bndrunfile again.You can check that openHAB is running with your browser by going to:
http://localhost:8080/(the last/is important!)You can check log output in the
Consoletab at the bottom.Check the chosen binding is active in
UI > Settings > Bindings
View all the above steps in a single animation:
# Modifying and Debugging Add-ons
If you don't just want to run an add-on, but also want to modify and debug it you need to install sources for the add-on and build them locally.
Install Sources
Sources are installed by cloning the openHAB Add-ons (opens new window) repository. If you select
openHAB Add-onsduring installation the installer automatically clones the openHAB Add-ons (opens new window) repository intogit\openhab-addonsunder your installation folder.If you didn't install
openHAB Add-onsyou can manually clone the openHAB Add-ons (opens new window) repository by executinggit clone https://github.com/openhab/openhab-addons.gitin thegitfolder under your installation folder.You can now modify add-on sources as needed.
Build Sources
Add the add-on as an Eclipse project so that Eclipse will build it automatically. Import the add-on project via
File > Import... > Maven > Existing Maven Projects. Specify your add-on's source root folder (e.g.git\openhab-addons\bundles\org.openhab.binding.astrounder the installation folder) as the root folder in the wizard.Start a Debug Session
Simply start your debug session by clicking "Debug OSGi" (upper right of the
app.bndrunwindow). You can now use breakpoints and all other Eclipse debug tools.
Where do add-on jar files come from?
If you just run an add-on following the above steps then the required add-on jar files are retrieved through your Maven repository folder .m2/repository (e.g. .m2\repository\org\openhab\addons\bundles\org.openhab.binding.astro).
If you imported your add-on as a project then the jar file is no longer retrieved from the Maven repository, but instead from the project build (e.g. git\openhab-addons\bundles\org.openhab.binding.astro\target under the installation folder).
# Using New Bindings
If you want to develop a new binding read about the Skeleton Script to generate the base for your binding and create all required files. Then follow the above steps to build your sources and to configure the demo app to run your binding.
# Updating openHAB
You can update the openHAB version you are running in the IDE at any time simply by updating your git repos under your install folder.
For example to update to the latest version run git checkout in each repo folder under your git folder in the installation folder.