# Installation of Add-ons
Add-ons can be installed in different ways, described below.
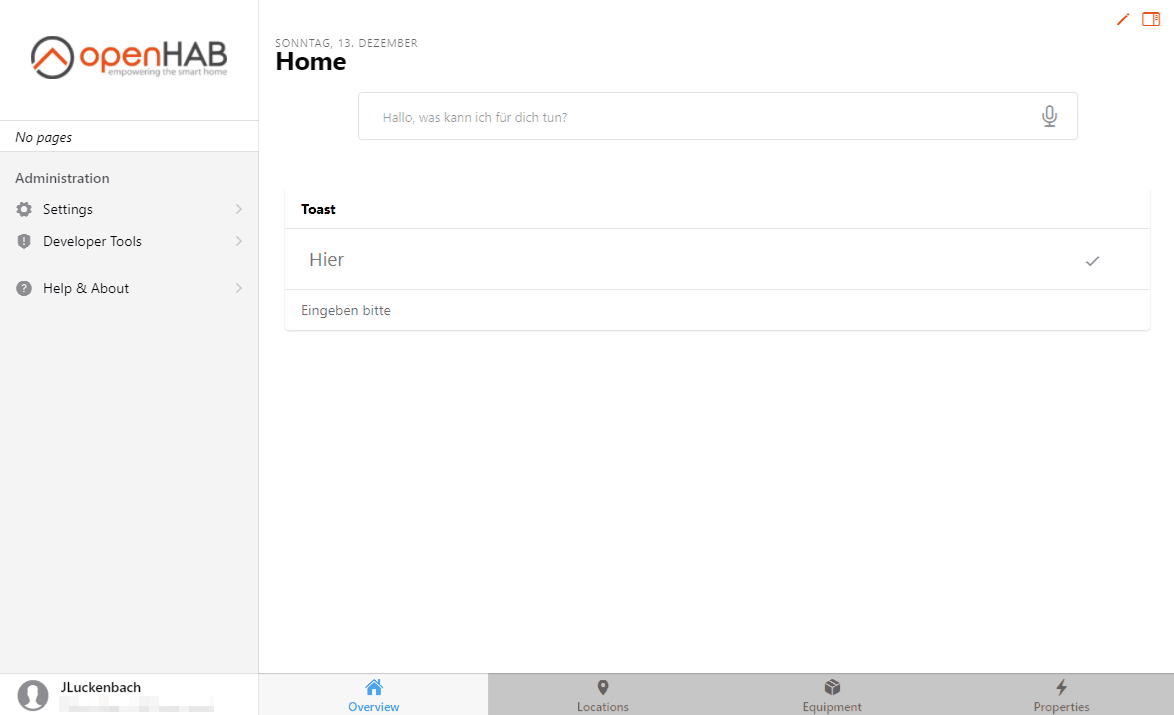
# Through User Interface
Log into your admin account (if not already done). Navigate to Settings and have a look for the add-ons section. Search for the desired add-on in the categories and press 'install'.
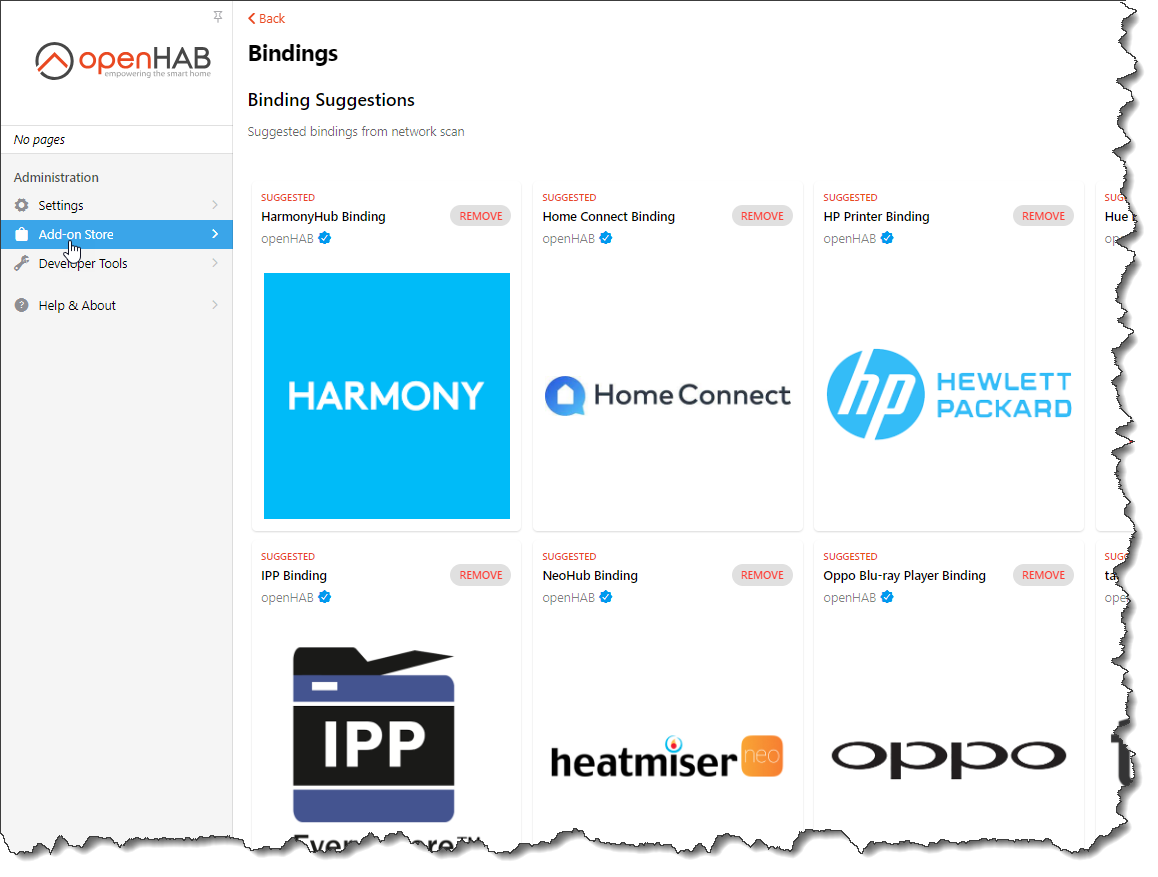
Alternatively navigate to Add-on Store. The openHAB framework will already have scanned your PC and LAN to discover home automation equipment in your system. Based on the discovery results it will show the add-ons that it recommends to install. Choose the desired add-on and press 'install'.
# Through Configuration Files
For this installation option you need to know the id of the desired add-on, e.g., network or mqtt.
You can find it out with the following command within openHAB console:
feature:list | grep ^openhab
A list of all available add-ons starting with "openhab" will be returned. It could look similar to this example:
...
openhab-binding-mqtt                      | 5.0.0            |          | Started     | openhab-addons-5.0.0    | MQTT Binding
openhab-binding-netatmo                   | 5.0.0            |          | Started     | openhab-addons-5.0.0    | Netatmo Binding
openhab-binding-onewire                   | 5.0.0            |          | Uninstalled | openhab-addons-5.0.0    | OneWire Binding
...
openhab-binding-network                   | 5.0.0            |          | Uninstalled | openhab-addons-5.0.0    | Network Binding
...
According to the naming convention for bundles the id for the shown example is network.
Another way to find the correct id is to look at the URL of the add-on documentation page.
For example the url for the Network Binding documentation is
https://www.openhab.org/addons/bindings/network/
In this case, the id would be "network".
With this information we can now edit the addons.cfg file in the $OPENHAB_CONF/services folder on the machine you are running openHAB on.
The path depends on your installation.
You can find out the correct locations on the corresponding documentation pages, e.g. Linux or Windows.
The file could look like this (depending on your chosen package and already installed add-ons):
ui = basic,habpanel
action = pushover
binding = astro
transformation = jsonpath
persistence = influxdb
To install the network Binding like we want in this example, we just need to add the id network to the Binding section.
binding = astro,network
After saving the file, the add-on will be installed.
# Through manually provided add-ons
Attention
This option is addressed to advanced users.
Installing add-on's with a .jarfile can lead to problems, because add-on dependencies may not be installed.
Please make sure to use this option only in special cases (like add-on testing for an upcoming version) or when you know what you are doing.
For this installation option you need a bundle .jar file.
One way of retrieving those files is mentioned above in the openHAB console part.
Place the .jar file in the addons folder on the machine you are running openHAB on.
As described already for the addons.cfg option, the path depends on your installation.
Place the .jar file in the folder Additional add-on files as described in File Locations (Linux, Windows or macOS).
# Through the openHAB console
Add-ons (also known as bundles) can be also installed and updated via the openHAB console.
To see the available online and offline add-ons:
openhab:addons list
To install an add-on in the background:
openhab:addons install <id-as-from-list-command>
Another approach can be found at Installing or Updating Bundles.